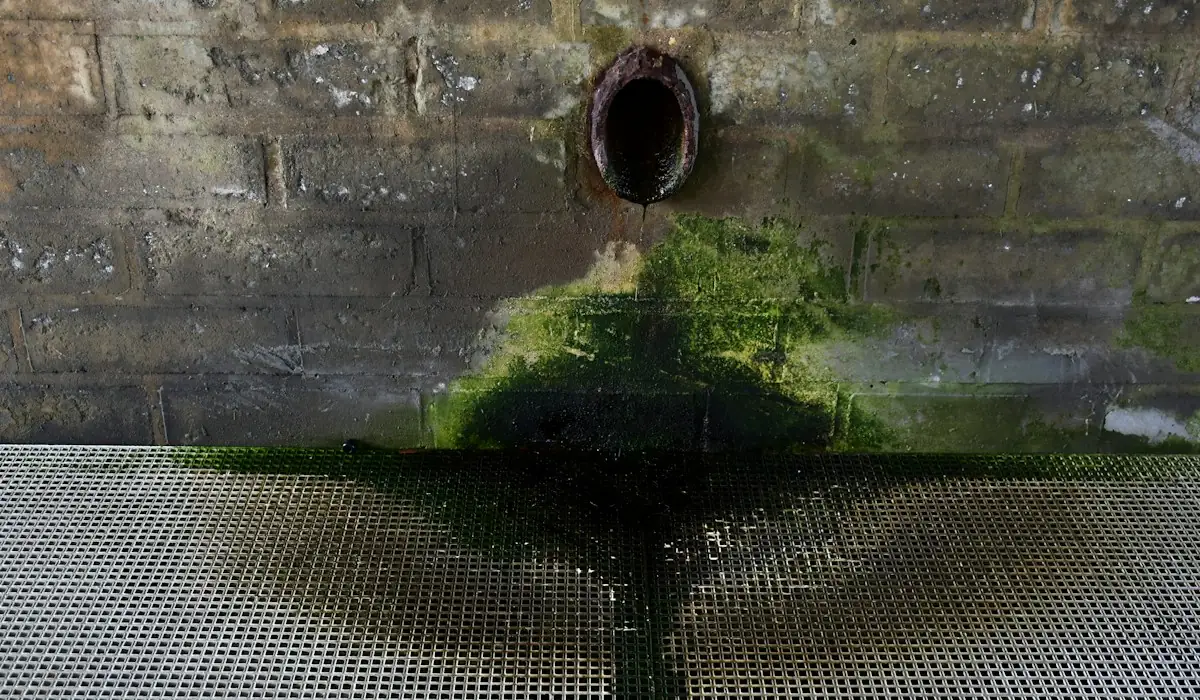
How outside taps fail
A standard hose bib has its valve seat right at the wall, so water sits in the exposed section all winter. Frost-free sillcocks move the seat back inside the heated house. But a frost-free model still bursts when a hose stays attached, since the hose holds water in the barrel. Many Brampton homes from the 1970s to the early 2000s still have the older type, or a frost-free one installed without enough downward slope.
Signs to look for in spring
- Water spraying from the wall or running down the siding when the tap opens.
- Damp drywall or a wet sill plate on the basement side of the tap.
- Drips from the spout that do not stop when the handle is closed.
- No inside shut-off valve, so the outdoor line cannot be drained.
What the repair involves
- Open the ceiling or wall inside to expose the supply where it meets the sillcock.
- Remove the old tap and enlarge the wall hole if needed.
- Fit a frost-free sillcock of the right length with a built-in vacuum breaker, sloped slightly to drain outward.
- Add a quarter-turn shut-off with a drain cap on the inside line.
- Seal the exterior penetration against air and water.
Before every freeze. Pull off every hose, shut the basement valve feeding the tap, then let the spout outside drain and stay open. Our frozen pipes guide has a full autumn checklist.
Adding a new outside tap
Want an extra hose connection by the back garden or a hot-and-cold outdoor faucet? We run a branch from the nearest supply, keep it on the warm side of insulation and fit a shut-off you can reach.
Signs you need this job
- A steady drip from the spout
- Water under the cabinet after use
- Handles grinding, wobbling or turning past the stop
- One lonely tap running weak while others are fine
On the job, in order
- Close the angle stops or the main
- Pull the cartridge, stem or valve body
- Fit new parts and reset the trim
- Run both temperatures and check every connection
Ready when you are. One call, a real plumber, an arrival window.
Call now(365) 517-6415